
I enjoy tent camping more than a lot people I know but there are times when I would like to head out into the woods and it is a little too cold. I was reading a magazine one day and found the perfect solution, a do-it-yourself mini-camper. I thought this was a great idea since I didn't own a camper at the time. There was one exception though, the one they made in the magazine was held together with glue! I thought, "I can do that but make it a little more sturdy for climates that have more wind and snow". So I built my mini-camper. I was surprised, it only took me about three days.
When I completed it, people had mixed comments about my project. One person asked, why I would want such a small camper? My response was, "what more do you really need than a warm place to sleep at night when the main purpose of a camping trip is to be outdoors"? Another friend actually printed some photos of my mini-camper and put them on her refrigerator. I haven't made the fridge in well over 30 years! I felt a little special.
The first thing you need is a trailer. There are a lot of places to buy a used trailer such as the classifieds in your local newspaper. The trailer does need to have leaf springs and tires that can carry the weight of the mini-camper, approximately 750 pounds depending on materials. Keep in mind that any supplies you eventually bring along will add to the over all weight. There are tire load indexes for trailer tires available online.
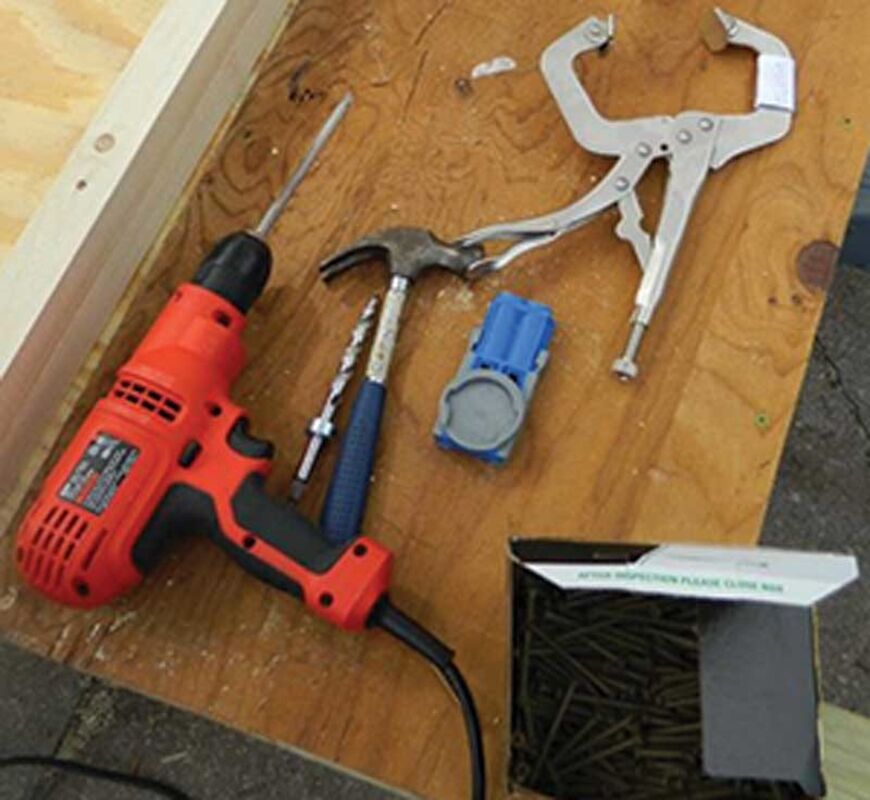
You don't need a lot of tools but I would recommend purchasing a Kreg jig, (this is one of my favorite tools). They range in price from about $30 to $100. The $30 one will get the job done. Using the jig will require you do a little more work ahead of time but once you do the advance preparation, the rest of the project will nearly put itself together. With the jig, you pre-drill pocket holes into your studs so that you don't have to toe-nail them into place when doing the framing. You simply put screws through the holes you pre-drilled to secure your boards.
I built my mini-camper on an old boat trailer. The tongue of the trailer is extra long, so I was able to extend the length of the trailer by 2 feet. This may not seem like much but the extra length allowed me to put in a small storage closet and still be able to sleep comfortably. The dimensions of the mini-camper I am about to describe are 10' long by 4'wide and 4' high. If you buy 8' boards, you only need to cut them in half for the framing.
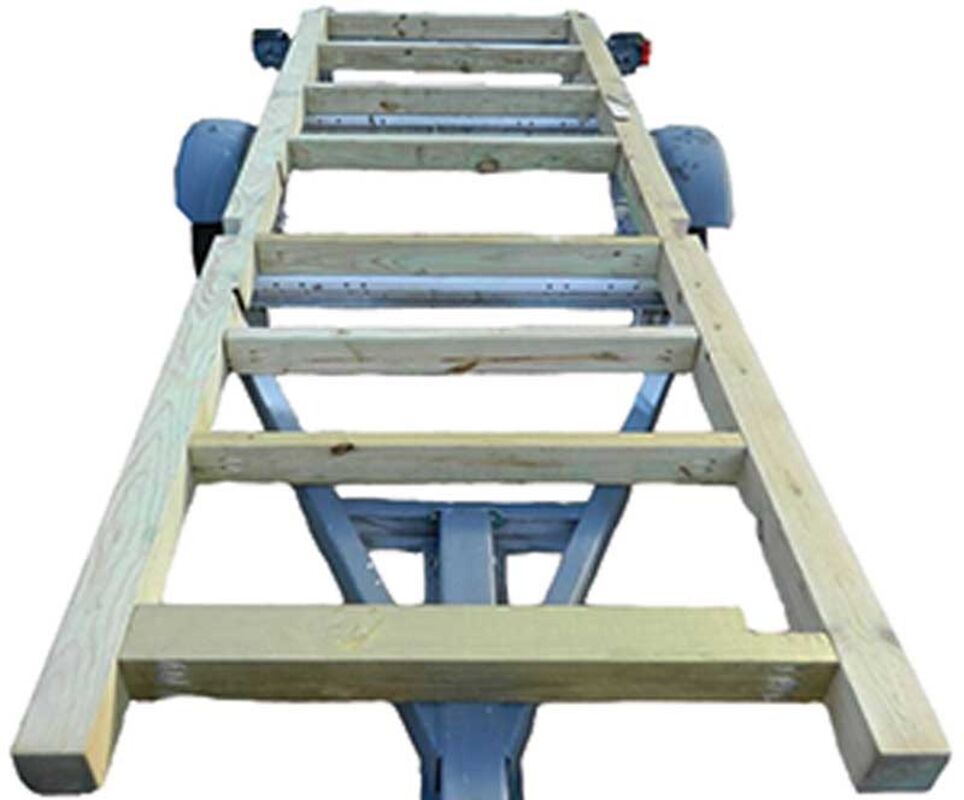
For the foundation you will need two 10' 4x4 of treated lumber and three 8' 4x4s of the same treated lumber. The longer boards go along the outside. Cut the 8' boards in half, pre-drill the pocket holes and space them every two feet in-between the 10' boards. You will need to look at your trailer to find the best place to secure the camper. Once you have located a place to attach your frame to the trailer, drill holes through the 4x4 and secure with heavy bolts, lock washers and nuts. Then place a sheet of plywood over your frame for the floor and secure with screws. You may want to paint the side of the floor that is facing the road so that it is a little weather resistant.
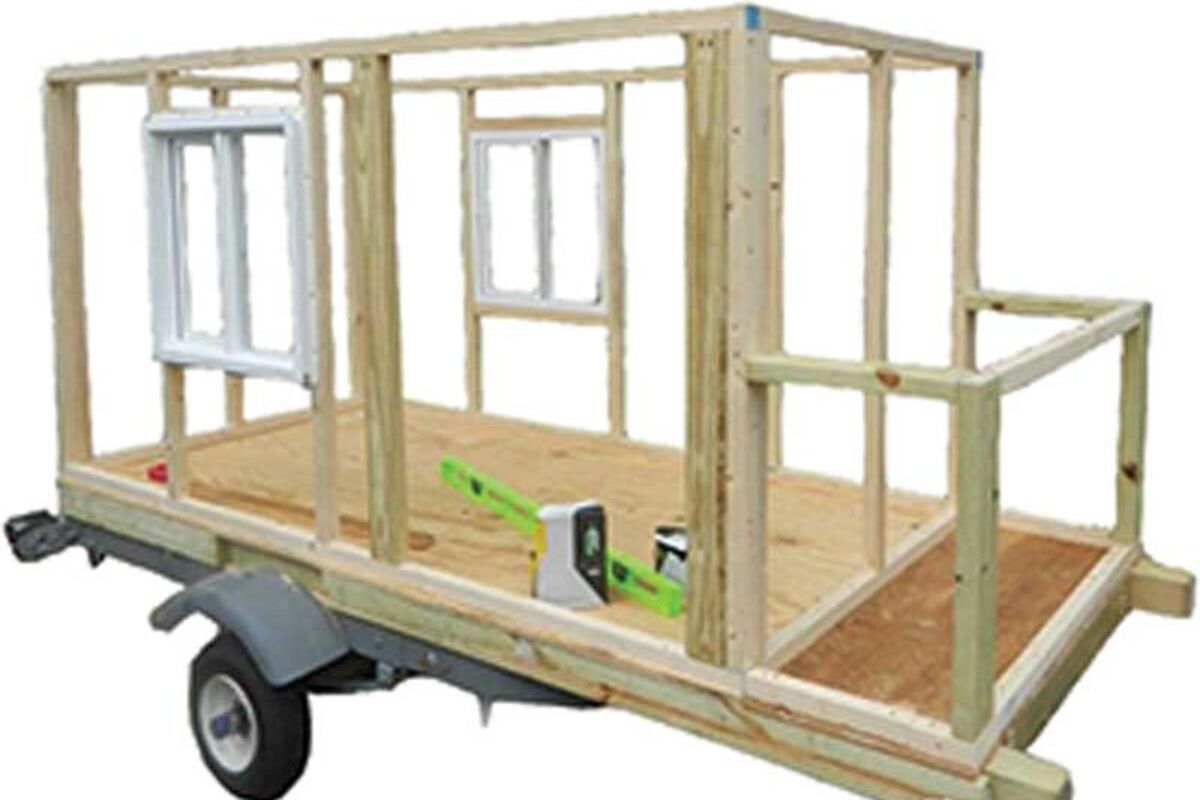
For the framing, you will need approximately twenty 8' 2x2 studs, two 8' 2x4 boards and six 4x8 sheets of plywood and a large box of screws.
I used 2x2s for most of the framing to reduce the weight of the mini-camper. They are placed double at the corners and then about every 2 feet apart. People have told me that I over built the camper but I'd rather have a sturdy structure. I also used 2x4s half the height of the main frame for what is to be the front of the camper. This gave me room to put a shelf and made the camper a little more aerodynamic.
I purchased two utility windows from my favorite DIY store. They are easy to mount. You may need to adjust the width at which you are placing your studs depending on the size of your window. I kept it simple with 2 foot wide windows. Measure the height from the bottom and secure a stud horizontally. Place the window and screw it to the studs. Then place another horizontal stud on the top of the window and finish securing the window to your frame.
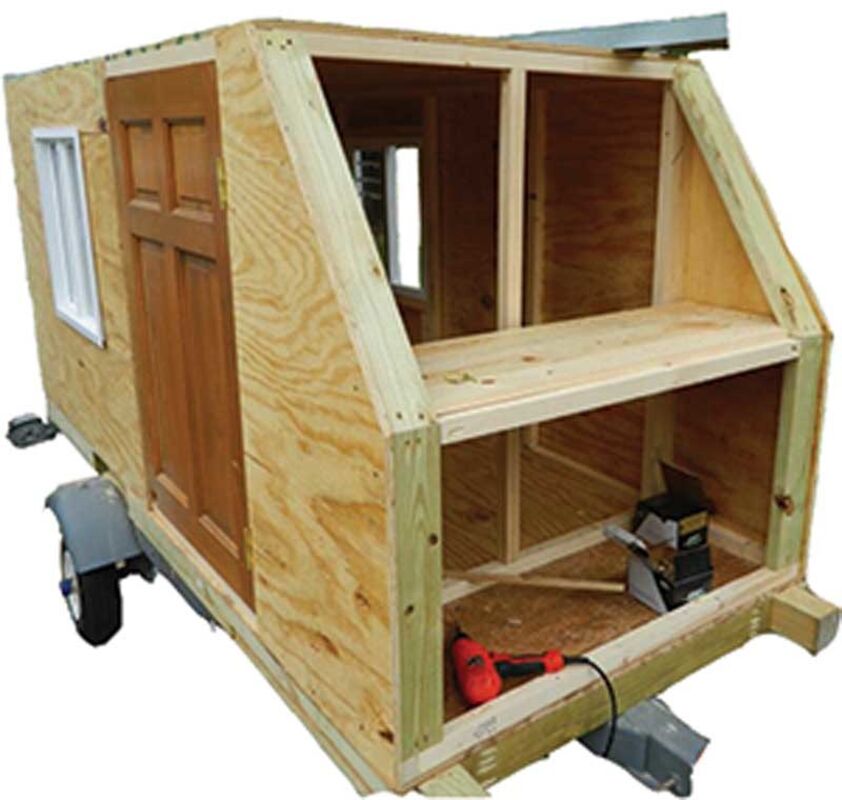
The door was an old house door which I cut in half. This does a couple things, keeps material out of the landfill and I didn't have to install a door knob or hinges because they were already on the door. Measure the door so you know the size of opening you need to leave. Use the larger 2x4s for the door frame due to the weight of the door. You will also need to determine the height at which you need to drill a hole partially into the frame for the key plate so that your door can shut securely.
Once the framing is complete, cover the exterior with plywood. You may need an extra pair of hands at this point as it is not easy to hold the sheets in place and fix it to the frame yourself.
I used about four sheets of pink foam board insulation on the interior. It is just cut to fit in between the studs and glued into place.
To help weather proof the trailer a little I used corner flashing and roll aluminum on the roof. The corner flashing comes in 10' pieces, I believe, so you need five or six.
I didn't side the trailer, I just painted it with a good exterior latex. Maybe that doesn't sound very durable, but so far my little camper has lasted four years and has kept me pretty cozy through weather that previously had me heading indoors.
I hope this description of my mini-camper is helpful to any one who is looking for a project like this. Have fun and enjoy the outdoors.
Reader Comments(0)